Bathroom mosaics are one of the most effective ways to transform a utilitarian space into a work of applied art that blends aesthetics with absolute functionality. Unlike large-format porcelain tiles, small elements allow for the creation of intricate patterns, the ability to contour curved surfaces, and the zoning of space with surgical precision. Choosing the right materials and adhering to proper installation techniques ensure that the interior retains its pristine appearance for decades, despite constant exposure to moisture and temperature fluctuations.
Choosing Materials for Bathroom Mosaics

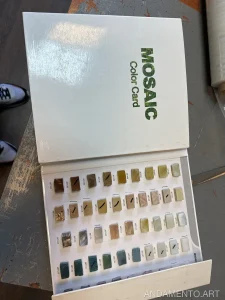
When selecting a base for the finish, it is important to understand the physicochemical properties of each material. Glass smalt remains the most popular choice. Smalt is an opaque glass traditionally used in Byzantine mosaics, and today it has become the gold standard for wet areas due to its zero water absorption. It does not absorb odors, is resistant to household chemicals, and possesses a deep, saturated color. If you are aiming for luxury, consider glass tiles with gold or silver foil inclusions, which reference the classical Opus Tessellatum style.
For those who prefer natural restraint, natural stone—such as marble, travertine, or granite—is an ideal choice. Carrara marble gives a bathroom the feel of an ancient thermal complex; however, it is important to remember that stone is porous. To ensure that natural stone mosaics do not absorb water and oils, the surface must be treated with hydrophobizers. A modern alternative is porcelain stoneware. This material has extremely high density and can imitate any texture, from concrete to wood, while remaining exceptionally wear-resistant and easy to maintain.
Ceramic mosaics are the most budget-friendly yet versatile option, available in a vast spectrum of shades and shapes. However, unlike smalt, ceramics have a certain percentage of water absorption, so it is particularly important to focus on the preparation of the substrate during installation. The choice between a glossy and a matte surface depends on the size of the room: glossy tiles visually expand the space by reflecting light, while matte tiles look more contemporary and are less prone to visible streaks from dried water droplets.
Technical Nuances of Laying and Installation

The installation process begins not with the tile, but with surface preparation. The primary task is high-quality waterproofing. In a bathroom, it is recommended to use two layers of liquid waterproofing, creating what is known as a “waterproofing basin” in the shower or bath area. This prevents moisture from penetrating the concrete slabs and protects adjacent rooms from leaks. Only after the membrane has completely dried can the adhesive be applied. For glass elements and smalt, a specialized white polymer-based adhesive must be used, as gray cement-based adhesives can “show through” transparent tiles, distorting their color.
Special attention should be paid to the grout. Inter-tile joints in the bathroom are the most vulnerable spots where mold or fungus can grow. Standard cement grout washes out and darkens over time. Professionals recommend using epoxy grout. It has a plastic-like structure, is completely waterproof, and is chemically inert. Although working with epoxy is more challenging due to its fast setting time, the result justifies the effort: such joints do not change color and do not require updating for the entire lifespan of the finish.
Maintaining geometry is crucial during installation. If you are using standard mosaic sheets, ensure that the distance between the sheets is the same as the distance between the individual elements within the sheet. To create complex patterns or smooth curves (for example, around a built-in tub or in niches), the “double-buttering” method is used—adhesive is applied to both the wall and the mosaic itself. This eliminates voids, which could otherwise cause the tiles to peel away in the future due to the thermal expansion of materials.
Design Ideas: From Ocean Depths to Geometry

Mosaic design allows for the realization of any creative vision. Marine themes are a timeless classic for bathrooms, utilizing gradient transitions from deep ultramarine and turquoise to light sandy tones. To prevent the interior from looking cliché, one can use the Trencadís technique (broken tile), creating organic, fluid forms reminiscent of waves or coral reefs. Adding a few mother-of-pearl elements creates a shimmering water effect under sunlight, visually refreshing the space.
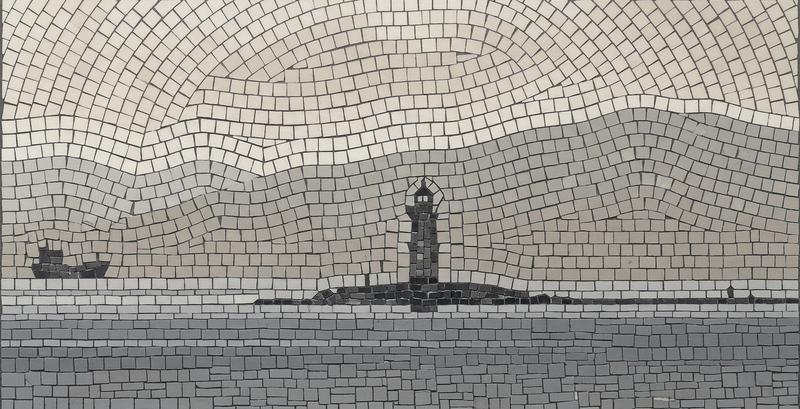
Geometric style is aimed at lovers of minimalism and Art Deco, dominated by clean lines, diamonds, hexagons, and chevrons. A popular technique is creating an accent wall behind the mirror or in the shower area. The combination of contrasting colors, such as deep black and pure white, creates a dynamic and modern look. To prevent the geometry from feeling too cold, it is recommended to combine porcelain stoneware with a natural stone texture and solid glossy smalt, balancing the rigor of the lines with the coziness of the interior.
Floral prints and botanical ornaments bring back the aesthetics of Art Nouveau and Florentine mosaics. Rather than literal depictions of flowers, it is better to use stylized plant patterns, winding stems, or abstract floral motifs. Soft pastel tones—olive, muted pink, lavender—combined with a white background create a spa-like atmosphere. To add volume, one can combine matte and glossy elements of the same color, creating a play of light and shadow that changes depending on the room’s lighting.
Care and Maintenance Rules

The longevity of bathroom mosaics depends directly on the cleaning agents used. The golden rule is the complete avoidance of aggressive acid-based compositions and chlorine-containing products for natural stone. Acid can react with the calcite in marble, leading to matte spots and the destruction of the stone’s structure. For glass smalt and porcelain stoneware, most modern detergents are suitable, although pH-neutral compositions are best for maintaining the shine of glossy surfaces.
Particular attention should be paid to the condition of the grout. Even the most durable epoxy grout requires periodic inspection. If micro-cracks appear in the joints, they must be repaired promptly to prevent water from seeping under the tiles. It is recommended to treat the joints every six months with special hydrophobic impregnations, which create an invisible protective layer that repels water and dirt. This significantly simplifies cleaning and prevents limescale buildup in the recesses.
To prevent limescale on glass and ceramics, it is recommended to wipe surfaces dry after showering. This is especially relevant in regions with “hard” water. Using soft microfiber cloths instead of abrasive sponges will prevent micro-scratches on the smalt surface, preserving its original transparency and brilliance for many years. Regular care transforms mosaics from an expensive finishing element into a reliable investment in the comfort and aesthetics of your home.
If you want to visualize your ideas or create a unique sketch for a future renovation, explore the capabilities of andamento.app, where AI can help you design the perfect mosaic pattern.