DIY mosaics are more than just a decorative hobby; they are a way to connect with one of the oldest forms of visual art, which has evolved from the ancient villas of Pompeii to the modernist parks of Barcelona. Today, thanks to the availability of materials and the advancement of digital technology, the barrier to entry for this craft is minimal. To create your first piece, you don’t need a professional studio; a basic set of tools and an understanding of how color, light, and form interact are sufficient.
DIY Mosaic Tools: The Basic Kit

Before you begin your creative process, you need to assemble a minimal technical arsenal. The master’s primary tool is the nipper. For beginners, wheel nippers are recommended, as they allow for the neat cutting of glass and ceramics without crushing the material into dust. Unlike standard pliers, they create a precise break, which is critical for forming correct tesserae—the small elements of a mosaic. You will also need safety goggles, as small shards can fly a considerable distance when cutting glass.
A suitable adhesive is required to fix the elements in place. If you are creating an interior panel on an MDF or plywood base, PVA or a clear polymer glue will work. For works intended for outdoors or humid rooms, it is necessary to use cement-based mixtures or epoxy compounds, which offer high adhesion and moisture resistance. Additionally, your toolkit should include a metal spatula for spreading the glue, a set of tweezers for the precise placement of small details, and a soft sponge for the final cleaning of the surface to remove excess grout.
Choosing Materials: Smalt, Ceramics, and Glass

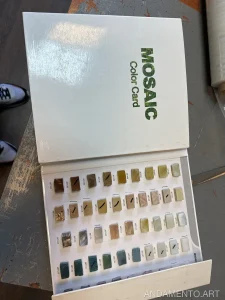
The choice of material determines not only the aesthetics but also the execution technique. Smalt is considered the most noble material—an opaque colored glass made with the addition of metal oxides. Historically produced in Venice (Murano), it was used in Byzantine cathedrals. Smalt possesses a deep color and a subtle shimmer, making it ideal for creating icons or monumental panels. It is sold in blocks, which the artist then breaks into tesserae of the desired size.
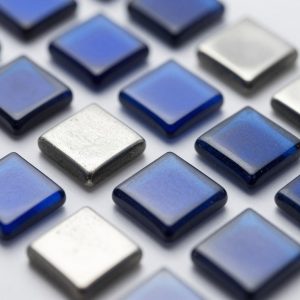
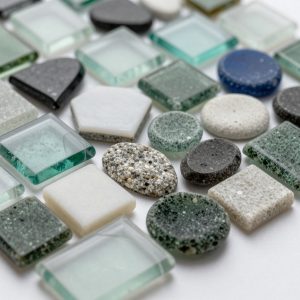
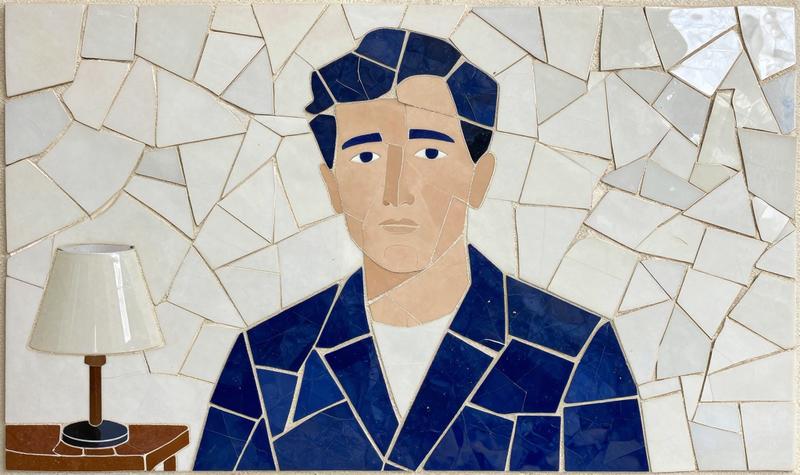
For those who prefer a more modern or eclectic style, ceramics are a great choice. Here, you can use the Trencadís technique (from the Catalan for “broken”), popularized by Antoni Gaudí in Park Güell. The essence of this method lies in using shards of tiles, pottery, or sanitaryware, making the process more spontaneous and accessible. The use of stained glass and glass mosaic tiles is also popular. Stained glass transmits light, so such works look best as inserts in windows or lamps, creating a play of reflections reminiscent of classic Stained Glass.
Laying Techniques: Direct and Indirect Methods

There are two primary approaches to creating a composition. The direct method involves gluing the tesserae directly onto the substrate (wood, concrete, metal). This is the simplest way for beginners: you see the result in real-time and can adjust the pattern on the fly. However, this method does not allow you to move the finished work from one location to another, and it requires high precision, as correcting a mistake after the glue has dried is difficult.
The indirect method is more commonly used by professionals to create large-scale canvases in the Opus Tessellatum technique. In this process, elements are glued face-down onto a temporary base (paper or mesh) using water-soluble glue. Once the composition is complete, the entire panel is transferred to a permanent base, filled with mortar, and the paper is then carefully removed. This allows the artist to work on the project in a studio and then install it anywhere, maintaining perfect joint geometry and the density of the elements.
The Secret of Mastery: What is Andamento?
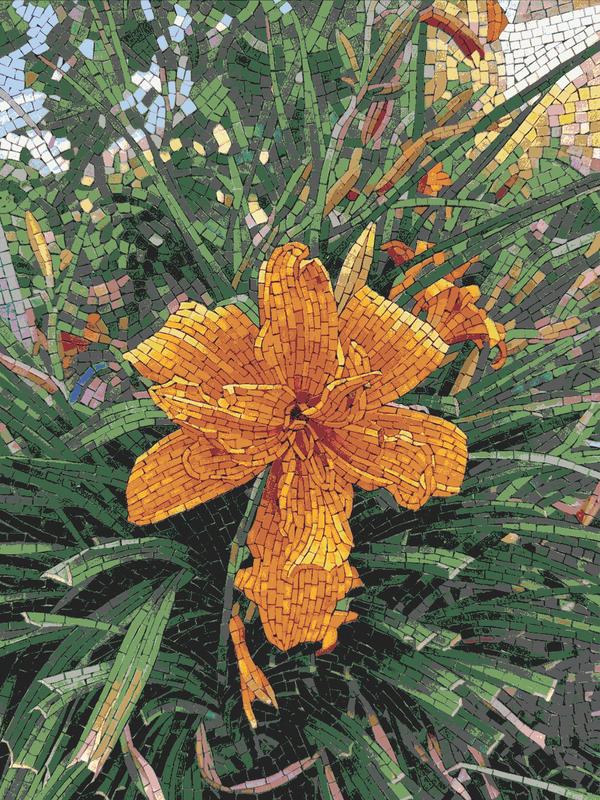
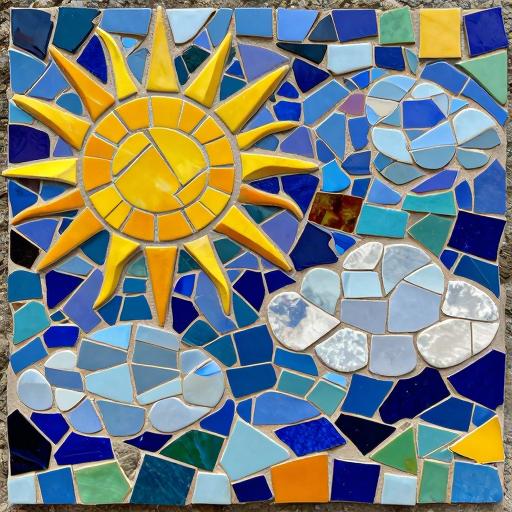
If you want your DIY mosaics to look professional, you need to master the concept of “andamento.” Translated from Italian, this word means “movement” or “flow.” Andamento is the visual rhythm created by the direction of the rows of tesserae. It is the laying lines that determine how the viewer perceives the shape of an object. For example, if you are depicting a circle, the tesserae should be laid in concentric circles rather than straight horizontal lines.
Correct andamento creates an illusion of volume and dynamics. In classical Roman mosaics, lines often curved around the central object, creating a kind of “frame” from the flow of tesserae. In modern art, andamento can be expressive, jagged, or, conversely, strictly geometric. By experimenting with the direction of the rows, you can guide the viewer’s eye to a specific point in the composition or create a sense of flowing water or fluttering fabric. Without considering this parameter, the work will look like a flat fill, devoid of artistic energy.
Your First Project: A Step-by-Step Guide to Creating a Panel
For your first attempt, we recommend creating a small decorative panel or a trivet. Start with a 1:1 scale sketch on paper. Transfer the drawing to the base (for example, a piece of 10mm thick plywood). Define the main color zones and prepare your materials: cut tesserae from smalt or ceramics using nippers, sorting them by shade into small containers.
Begin laying the pieces, starting with the outlines of the main figures. Remember the rule of andamento: the lines should follow the shape of the object. Leave gaps of 2-3 mm between the elements—this space is necessary for the grout. Once all elements are fixed and the glue has completely dried (usually 24 hours), it is time for grouting. Evenly distribute the grout mixture across the surface, filling all the gaps. After 15-20 minutes, wipe the surface with a damp sponge, removing excess material before it fully sets. Once completely dry, wipe the work with a soft cloth to restore the original brilliance of the glass and ceramics.
Creating physical objects requires time and practice, but you can also begin your journey in this art in a digital format. If you want to experiment with compositions, colors, and andamento techniques without wasting materials, try the service andamento.app, where AI will help you create the perfect mosaic layout from your photo or description.
DIY mosaics are a meditative process that combines mathematical precision with free creativity. From the simple breaking of tiles to the creation of complex Byzantine themes, every stage brings a unique satisfaction from creating something durable and tangible. The most important thing is not to fear mistakes, for in this art, even an accidental chip can become part of an artist’s signature style.