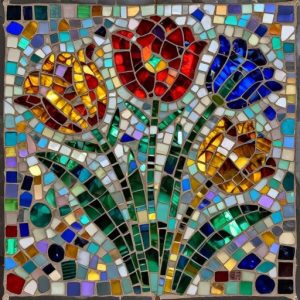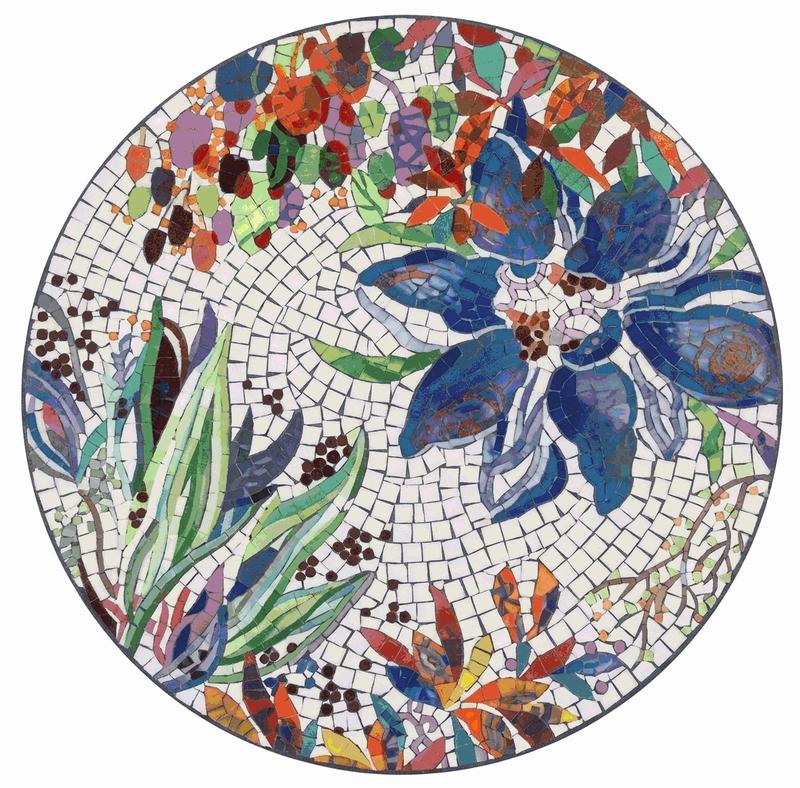
DIY bathroom mosaics are a way to transform a standard bathroom into a work of art, reminiscent of Byzantine mosaics or the modern Trencadís style. Unlike large-format porcelain tiles, small elements allow for the creation of complex curves, ornaments, and smooth color transitions, which is particularly effective for shower cabins and areas around the bathtub. However, working with mosaics requires extreme precision and adherence to technical standards, as wet environments place higher demands on waterproofing and material adhesion.
Surface Preparation and Tool Selection

Before starting your DIY bathroom mosaic project, the base must be properly prepared. The surface should be perfectly level, dry, and free of dust. If the walls have deviations of more than 3 mm per meter, preliminary leveling with cement-based plaster is required. It is important to remember that gypsum-based mixtures are prohibited in areas of direct contact with water, as they absorb moisture and can lead to tile detachment.
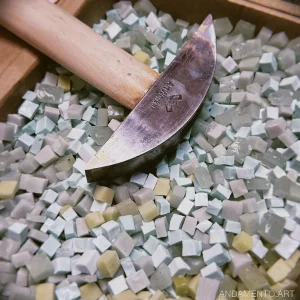
A specific set of tools is required for the job. The primary tool is a fine-toothed notched trowel (2–4 mm), as the adhesive layer under the mosaic must be minimal to prevent the compound from squeezing into the joints. You will also need a rubber mallet for gently pressing the elements, a level, a utility knife, and a sponge for cleaning the joints. If you are using a premium technique such as smalta, you will need specialized glass nippers for cutting. To ensure perfect geometry, the use of 1–2 mm tile spacers is recommended, although many craftsmen prefer laying “by eye” to achieve a more organic, natural look.
Step-by-Step Installation: From Waterproofing to Laying
When planning DIY bathroom mosaics, the first and most critical step is creating a reliable waterproofing layer. Without it, moisture will inevitably penetrate the concrete or brick, leading to mold growth and the destruction of the finish. According to the DIN 18533 standard, liquid-applied waterproofing based on acrylic or bitumen is recommended for wet zones. The compound is applied in two layers using cross-directional brush or roller strokes, with particular attention paid to corners and joints, where special waterproofing tape is applied.
Once the waterproofing is completely dry, proceed to apply the adhesive. High-elasticity C2TE class adhesives are recommended for mosaics, as they offer superior adhesion and resistance to temperature fluctuations. The adhesive is applied in a thin layer over a small section of the wall. Mosaic sheets are then pressed onto the surface and gently tapped with a rubber mallet. It is crucial to ensure that the adhesive does not overflow into the joints; otherwise, the subsequent grouting will be unable to fill the voids, creating a risk of leaks. Each row is checked with a level, and the gaps between the mosaic sheets must be identical to the gaps between the individual elements within the sheet.
Grouting and Final Sealing

Filling the joints is a critical stage that determines the longevity of the coating. In modern interiors, epoxy grout is considered the gold standard for wet areas. Unlike cement-based compounds, epoxy grout is completely waterproof, does not absorb dyes, and possesses extremely high strength. It creates a monolithic protective shell that prevents water from reaching the base. However, it must be worked with quickly, as it sets significantly faster than cement and requires immediate surface cleaning with a specialized solvent.
The grouting process begins 24–48 hours after installation. The compound is rubbed into the joints using a rubber spatula at a 45-degree angle, filling all voids as densely as possible. Afterward, the surface is wiped with a damp sponge. If you have chosen traditional porcelain or smalta with cement grout, a final sealer is mandatory. Hydrophobizers based on silicone or acrylic create an invisible film on the surface that repels water and dirt, preventing dark stains from appearing in the joints. The sealer is applied in a thin layer using a brush or sprayer across the entire wall surface.
Common Installation Mistakes in Wet Areas
One of the most common mistakes when attempting DIY bathroom mosaics is ignoring the “open time” of the adhesive. Many apply the compound to too large an area, causing the adhesive to set before the mosaic is placed. This sharply reduces adhesion, and over time, the tiles may begin to sound hollow or fall off. Additionally, using standard tile adhesive for glass mosaics or smalta is unacceptable—these materials require specialized compounds with high bonding strength; otherwise, the glass may crack due to differences in thermal expansion coefficients.
Another serious error is relying solely on waterproofing without accounting for slopes in shower zones. If water pools in one place, even the highest quality adhesive may fail after a few years. Furthermore, people often forget to seal the joints between the wall and the floor or bathtub. Standard grout should not be used in these areas, as it lacks elasticity and will crack during the slightest building settlement. Only sanitary silicone sealant with antifungal additives will ensure long-term watertightness at these junction points.
Care and Maintenance Rules
To maintain the original luster of the mosaic coating, specific care rules must be followed. The main enemies of bathroom mosaics are aggressive acids and alkalis. Products containing hydrochloric or sulfuric acid can cause chemical burns to the surface, especially when smalta or natural stone is used. For daily cleaning, pH-neutral detergents and soft microfiber cloths are recommended. Abrasive sponges and metal brushes are prohibited, as they leave micro-scratches where limescale can accumulate over time.
If limescale appears in the joints, a weak solution of citric acid can be used, but only after testing it on an inconspicuous area. To maintain hydrophobic properties, it is recommended to renew the protective sealer every 2–3 years. This is especially important for porous materials, such as porcelain stoneware, which can absorb moisture. Regular ventilation of the room and the use of forced ventilation will help prevent mold formation in the joints, even if high-quality epoxy grout was used.
Professional Installation Costs
Despite the appeal of DIY bathroom mosaics, many turn to professionals due to the complexity of the process. The cost of a professional’s work depends heavily on the region and the complexity of the pattern. On average, laying standard mosaics costs between 2,500 and 5,000 rubles per square meter. If a complex panel is required using various techniques (for example, a combination of Opus Tessellatum and modern elements), the price can increase 2–3 times.
The cost typically includes: surface preparation, application of waterproofing, the laying process, and grouting. Additional charges apply for cutting elements and creating complex nodes (internal and external corners, pipe bypasses). It is important to understand that professional installation with a 5–10 year warranty is often more cost-effective than redoing DIY tiles after two years due to leaks or detachment. A professional takes responsibility for selecting materials where adhesion and moisture resistance meet the technical requirements of the specific project.
If you are looking for design inspiration for your bathroom or want to visualize a future pattern, try the andamento.app service to create unique mosaic sketches using AI.