Creating a mosaic from your favorite photos has become easier thanks to modern technology. The Andamento.app service allows you to quickly and easily turn any image into a colorful mosaic, using various techniques and settings. In this article, we will walk you through each step of the process, from selecting a photo to the final design.
Step 1: Choosing a Photograph

The first step is to choose a suitable image for your mosaic. It’s best to use bright, contrasting, and detailed photos with clear lines and texture. A long focal length or high resolution will help achieve the best results.
For example, if you want to create a mosaic for a child’s room, choose a photo with bright colors and large, contrasting objects. This could be an image of flowers or the child’s favorite toys. If your goal is to decorate an office interior, select a photo with more subdued tones.
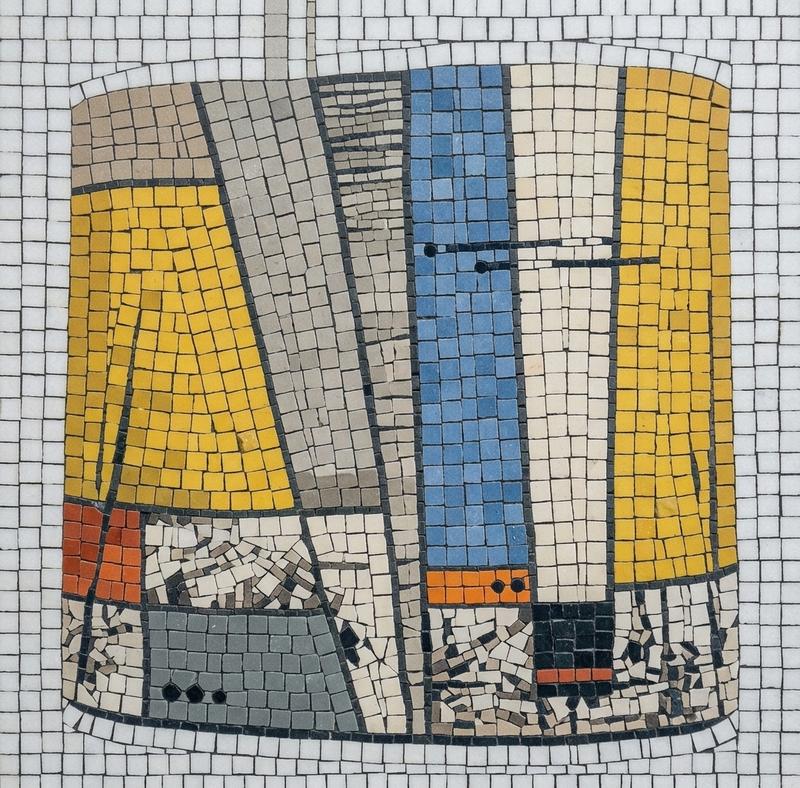
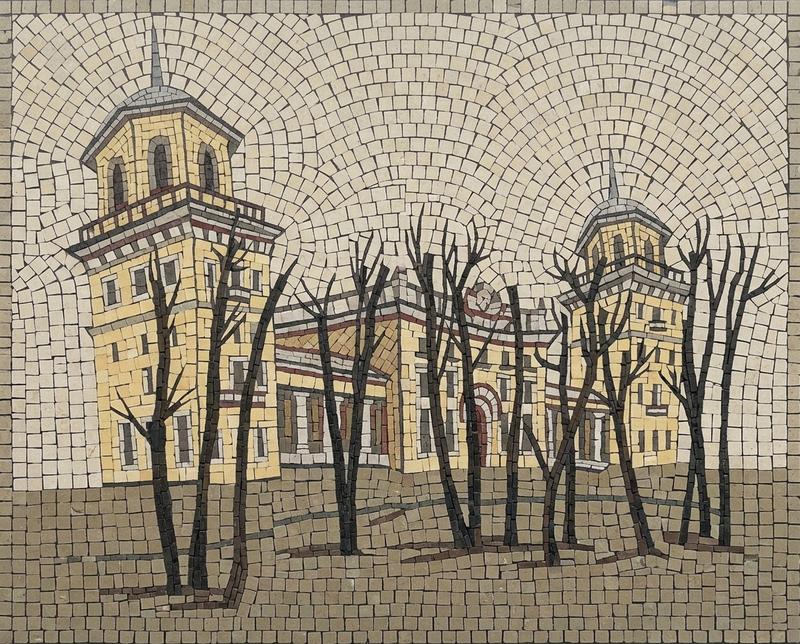
Step 2: Choosing a Mosaic Technique

Andamento.app offers several different mosaic creation techniques:
- Matrix Mosaic: Uses rectangular tiles and is suitable for modern and abstract styles.
- MELTI Mosaic: A unique technique with irregular shapes, perfect for creating original photo mosaics.
- Classic (AI): Uses artificial intelligence to recommend the most suitable colors and shapes for your photograph.
For those who prefer a more classic style, the matrix mosaic is a good choice. It works well for both modern and traditional interior design. If you’re looking for something original and unusual, MELTI will be an excellent option.
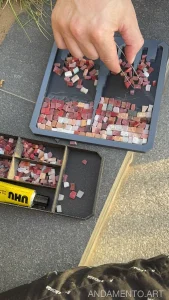
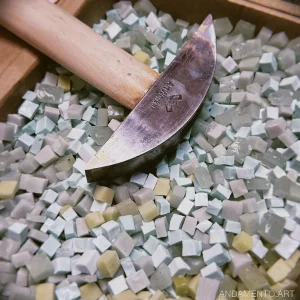
Step 3: Choosing the Module Size


The size of the modules determines the detail of the mosaic. The smaller the module, the more intricate the pattern you will achieve. However, this will also increase the time required for creation and installation.
- Small Module: 1 to 4 cm – for detailed images and small panels.
- Medium Module: 5 to 8 cm – a versatile choice for most projects.
- Large Module: Over 10 cm – for large panels and covering significant surfaces.
If your photo contains many small details, it is recommended to choose small modules. This will allow all the nuances of the image to be conveyed in the mosaic. For larger projects or if you want a less intricate pattern, larger modules can be used.
Step 4: Preparing the Source Photo
To achieve the best results, consider the following tips:
- High Resolution: Choose high-quality images to ensure a detailed mosaic.
- Color Correction and White Balance: Ensure the photo looks visually appealing before conversion.
- Remove Unnecessary Elements: Clean up the image by removing unwanted objects or noise for a neater result.
Example: If you want to create a mosaic from a landscape photograph, make sure all details in the frame are clearly visible. Remove any non-essential elements that might distract from the main subject.
Step 5: Choosing the Panel Format
Select a suitable panel format that will complement your room’s design. Andamento.app offers various options:
- Square Format: An excellent choice for walls and floors.
- Semi-Cylindrical Format: Suitable for arches or protrusions.
- Round Format: Perfect for creating a unique accent in your interior.
A square mosaic format is ideal for kitchen decoration. It can serve as a great backdrop for walls or backsplashes. If you want to add originality, you can opt for a round format and place it above a dining table.
Step 6: Adding Textures and Effects
The Andamento.app service allows you to add various textures and effects to give your mosaic a unique touch:
- Textural Effects: Add roughness, graininess, or smoothness.
- Lighting Effects: Create shadows and highlights for a more realistic mosaic appearance.
- Gradient Transitions: Use smooth color transitions to create a dynamic composition.
Example: If you are creating a mosaic with a mountain landscape, add textures for the ground and sky. Lighting effects can help convey the contrast between the bright sun and the shadows cast by the rocks.
Step 7: Saving and Printing the Mosaic
Once all settings are finalized, you can save your project or print it:
- Save in JPEG, PNG, or PDF formats: For further editing or sharing with friends.
- Print on a home printer or order professional printing: If you want a physical copy of the mosaic for your home or office.
If your project is ready, don’t forget to save it in a convenient format. This will allow you to return to it later and make any necessary edits. If you want a physical result, you can send the file for professional printing.
Conclusion: Create Your Own Mosaic Online!
With the Andamento.app service, creating a photo mosaic has become an accessible and engaging process. Try creating your own unique mosaic today – it only takes a few minutes but will leave you with lasting pleasant memories!
Try creating your mosaic at Andamento.app